Feeds:
Posts
Comments

Archive for November, 2011

Kwanzaa Activity: Counting

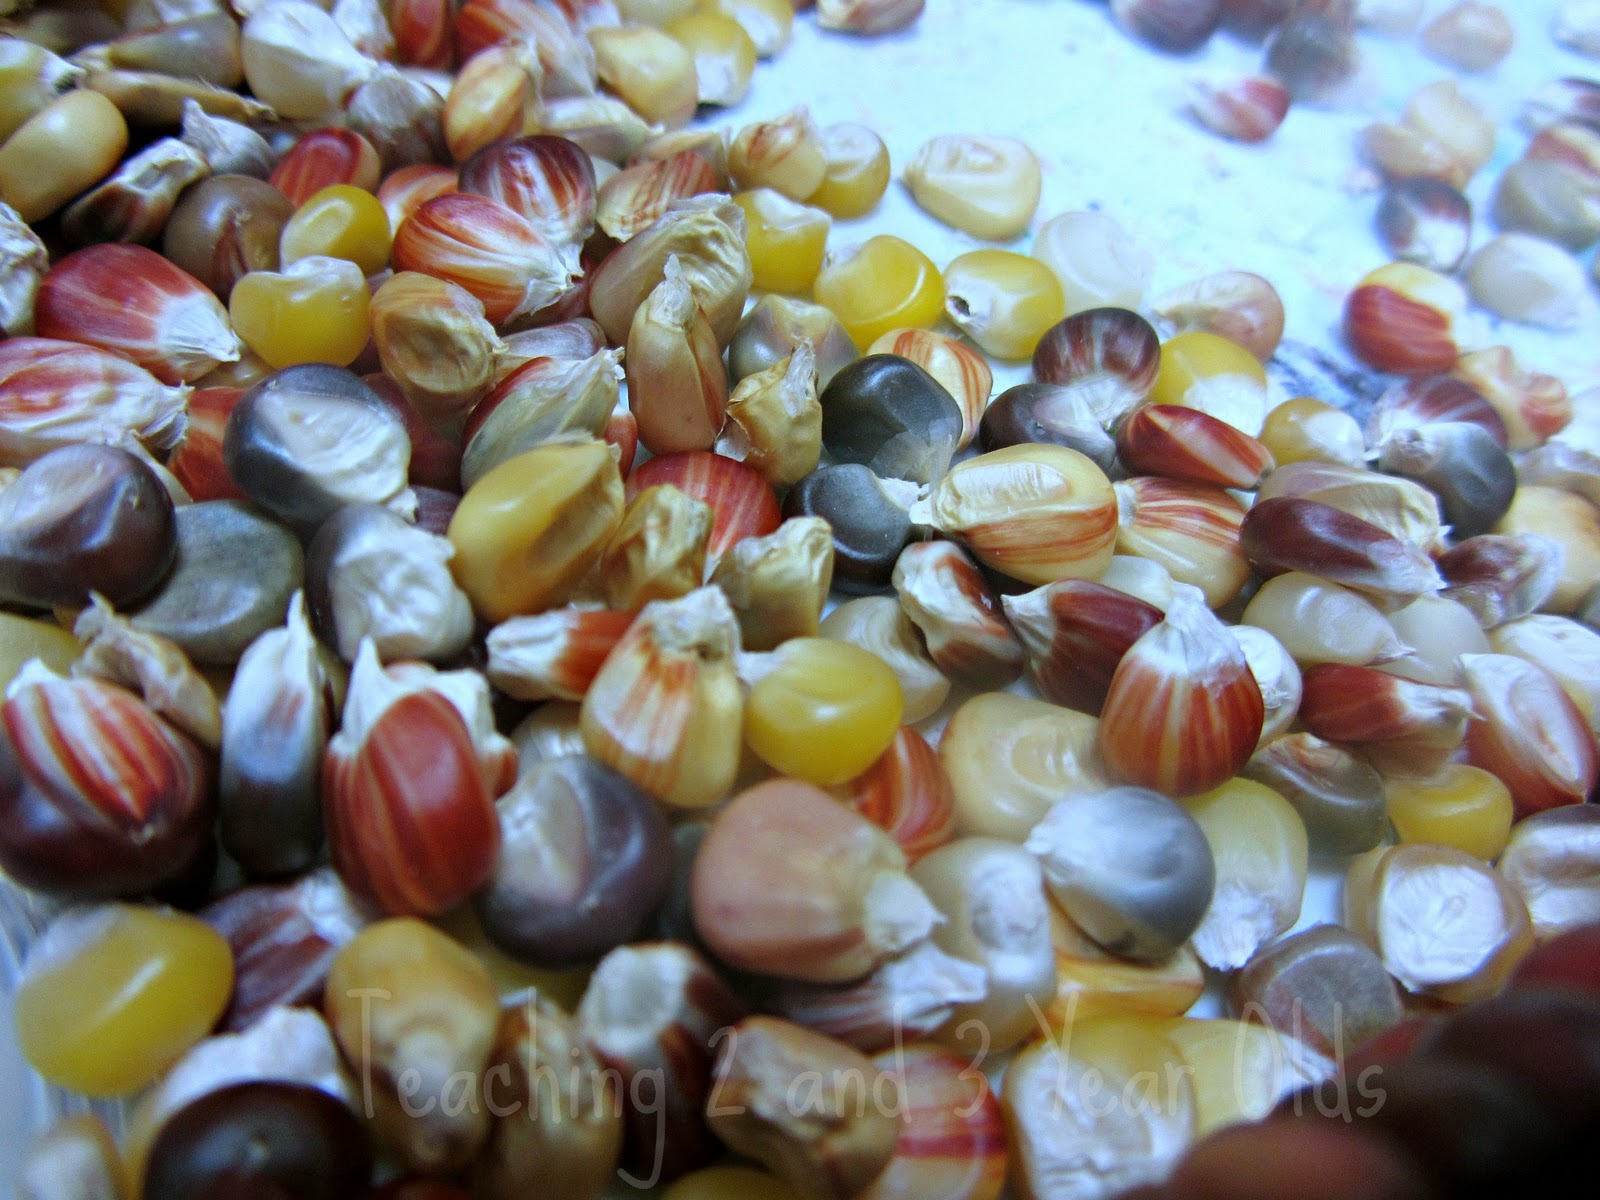
Reinforce number awareness with this small-group activity! Display five ears of corn (still in the husks) on a woven placemat. Invite a small group of students to sit with you. Explain that during Kwanzaa, each family places an ear of corn on the mkeka mat to represent each child. Have students count the ears and decide how many children would be in that imaginary family. Remove one ear of corn and ask students to count the remaining ears and tell you how many children are in that family. Remove another ear and again ask youngsters how many children there are. Continue in this manner, adding and removing ears of corn for several rounds. Wow—that family has five children!

Kwanzaa Activity: counting

Read Full Post »

Seems like a fun and yummy idea in time for the holiday season!

Ingredients:
pointed sugar cone
vanilla frosting tinted green
M&M’s Minis (ornaments)
yellow sugar crystals/sprinkles

Directions:

  1. Turn the cone pointed side up.
  2. Spread frosting to cover the entire cone.
  3. Decorate with M&M’s Minis and sugar crystals (or sprinkles).

Print in color

Recipe Cards

Read Full Post »

Pinecone turkeys!

These are really cute, but do require a lot more teacher prep than usual to get the final outcome.  (From Preschool Daze)

we used cinnamon scented cones, natural feathers, a low temp glue gun, an old cereal box, scraps of construction paper, and a marker.

IMG_7190.JPG

make sure you sing this song while you hold your little turkey:

i’m a little turkey short and fat,
here are my feathers, here is my hat.
when it is thanksgiving, you will hear:
gobble, gobble, gobble in your ear!

IMG_7255.JPG

Read Full Post »

I love this idea of setting up a reading nook/reading tent for kiddos to get comfy and explore the joys of reading!  This is from The Imagination Tree which also has a lot of other really creative, imagination-promoting ideas!

Read Full Post »

(By Anna Ranson from Parent Dish)

rolling out salt dough

You will need: 

1 cup plain flour
1 cup salt
(up to) 1 cup of water

What to do:

1. Simply mix together the dry ingredients then pour in the water, bit by bit until it mixes together to form a dough like consistency. If it’s too sticky add some more flour. It should be workable and just dry enough that none should come off on your fingers.

2. Roll out the dough on a floured surface and choose some cookie cutters to cut some shapes from it.

cutting salt dough into shapes

3. Stars, Christmas trees, robins, hearts, bells and angels all look perfect hanging on the tree.

4. Stick a straw near the top of each shape so that a ribbon can later be threaded through the hole.

How to make salt dough Christmas tree decorations

5. Lay the shapes on a baking sheet and cook at 100 degrees C for 2-3 hours, turning half way through if the shapes are thick.

6. When dry, they can be painted and decorated using ordinary paints or metallic acrylics, which look stunning! Use a little PVA glue when the paint has dried to add glitter, sequins, beads and other embellishments. Thread with raffia or thin ribbon and hang!

salt dough Christmas tree decorations


Read Full Post »

(From Teaching 2 and 3 Year Olds)

This is one of our favorite fine motor activities in November. It can be a challenge to tweeze those little kernels off the cob, but oh so rewarding!
And then you have these colorful kernels for another activity!

Read Full Post »

Counting Cherry Pie

Color a paper plate brown so it resembles a pie and cut it into five equal slices. Make a different number of red fingerprints (cherries) from one through five on each slice. When the prints are dry, place the slices in a pie tin. Write each matching numeral on a different paper plate. Then place the pie tin and plates at a center. A visiting youngster counts the number of cherries on a slice of pie. Then he dishes up the slice on the matching paper plate. He repeats the process for each remaining slice of pie.

Math Center: counting

Read Full Post »

Letter Search

Place one magnetic letter for each letter of the alphabet in a large, shallow plastic container. Conceal the letters with packing peanuts or shredded paper. When a student visits the center, he closes his eyes and removes a letter from the container. Then he opens his eyes and places the letter on a work surface. He continues removing the letters as described, arranging them in alphabetical order as he sets them down. When the alphabetical lineup is complete, he will know that he has found all the letters!

To make the activity easier, set out a large sheet of paper on which you have written the alphabet. Have students set each magnetic letter they find on the corresponding letter.

Letter Search

Read Full Post »

Stick Shapes

Give each child ten craft sticks; then challenge her to create a given shape using a specified number of sticks. For example, ask, ”Can you make a triangle with three sticks?“ or ”Who can make a rectangle using all ten sticks?“ This is a great way to shape up youngsters’ stick-to-itiveness!

Stick Shapes

Read Full Post »

(From Teach Preschool)

Circles, triangles, rectangles, and squares from all different colors of construction paper can be used to make shape turkeys.

To make the turkeys, the children started by gluing their circles on their piece of white paper…

And then they began adding shapes to their circles to create the rest of their turkeys…

And some of the children used a marker to add facial features and legs and turkey feet….

Read Full Post »

Older Posts »